Customize ticket statuses
Location of statuses
All ticket statuses are stored in the “Ticket Statuses” list on the “Site contents” page.
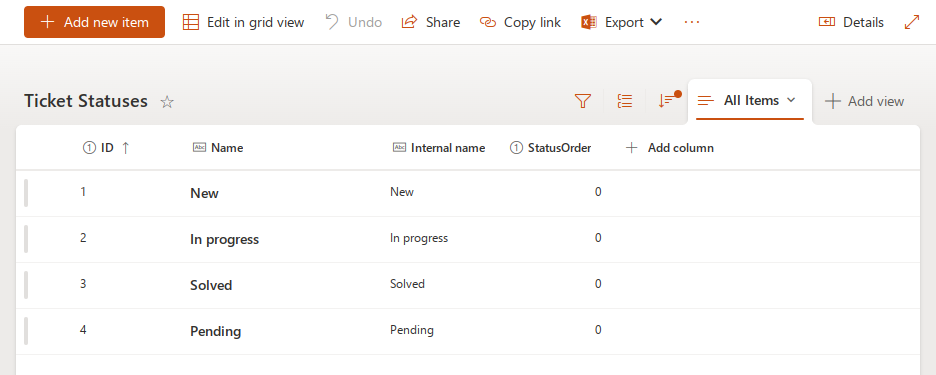
The list contains the following columns:
ID – the default SharePoint column containing item IDs.
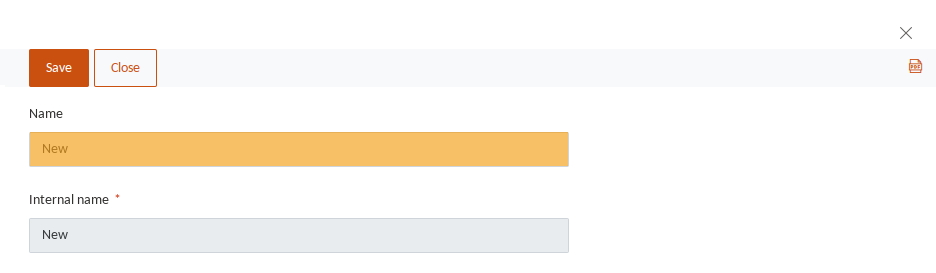
Name – the status name displayed in the UI. Can also be used for HelpDesk localization.
Internal name – the system status name used in triggers, custom JavaScript, email synchronization, and other core processes.
StatusOrder – indices that define the order of statuses in the ticket form.
Note
By default, there are four system statuses; deleting them or modifying their internal names will break HelpDesk functionality:
New
In progress
Pending
Solved
You can add custom statuses or rename the existing ones, for example, to translate them into another language.
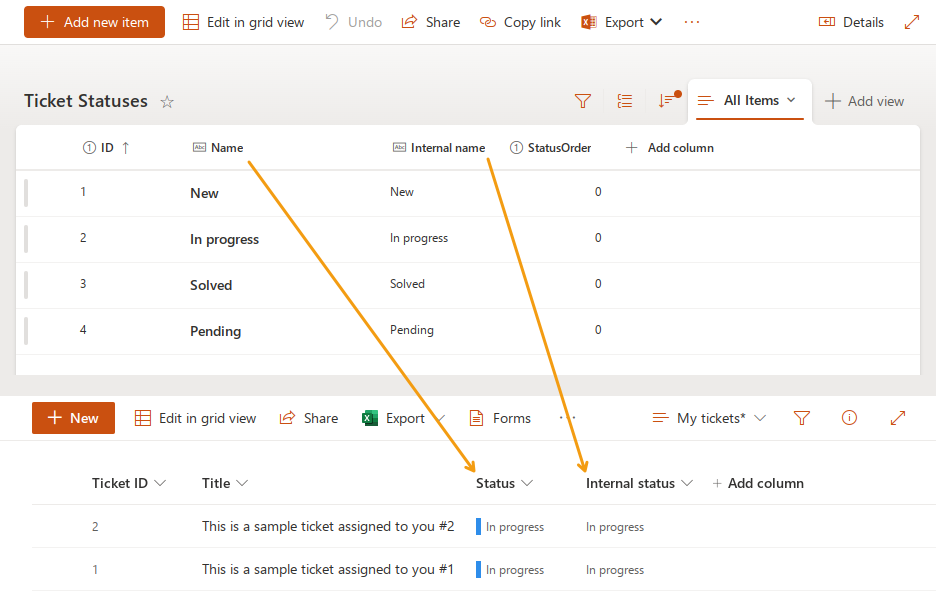
Connection between tickets and statuses
The “Tickets” list has two lookup columns referring to the “Ticket Statuses” list:
Status – refers to the “Name” column;
Internal status – refers to the “Internal name” column;
Customize default status in ticket form
Out of the box, the Send button sets a ticket status to Pending once you submit a new comment.
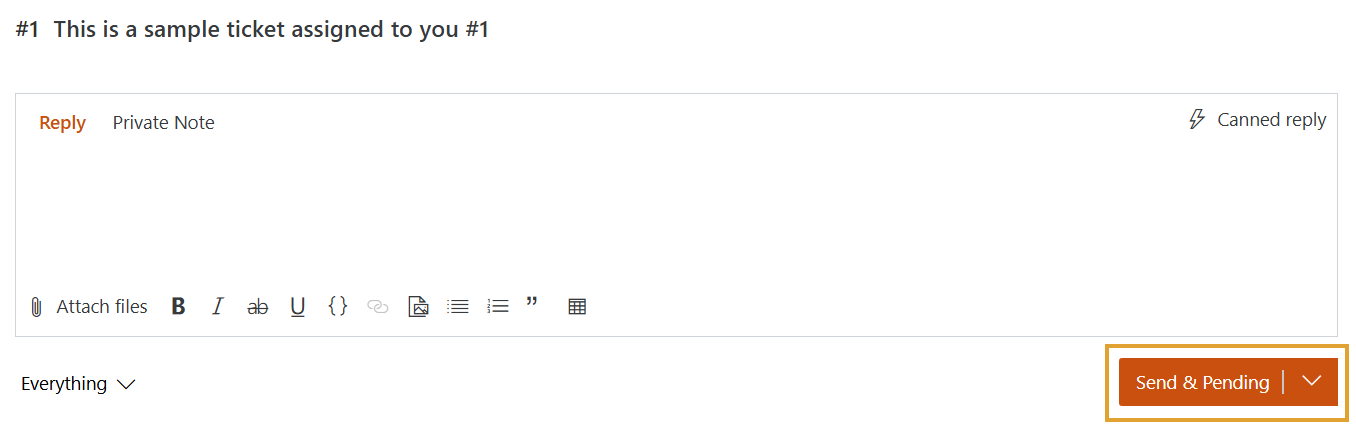
You can replace the Pending status with another one through a quick customization of the ticket form. Let us check how to change it to In progress.
Note
This option is available starting from HelpDesk 2.1.25
Download and install the Plumsail SharePoint Forms designer.
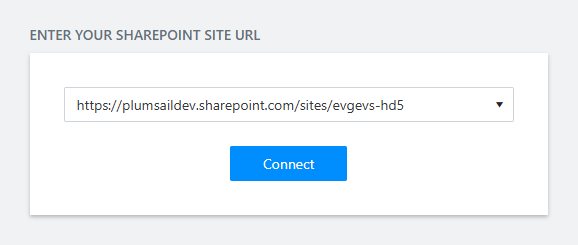
Connect to your HelpDesk site.
And select the “Tickets” list.

Check out a detailed guide on this topic.
Once you have connected to the ticket Edit form, select the
<save-as />element and edit it.
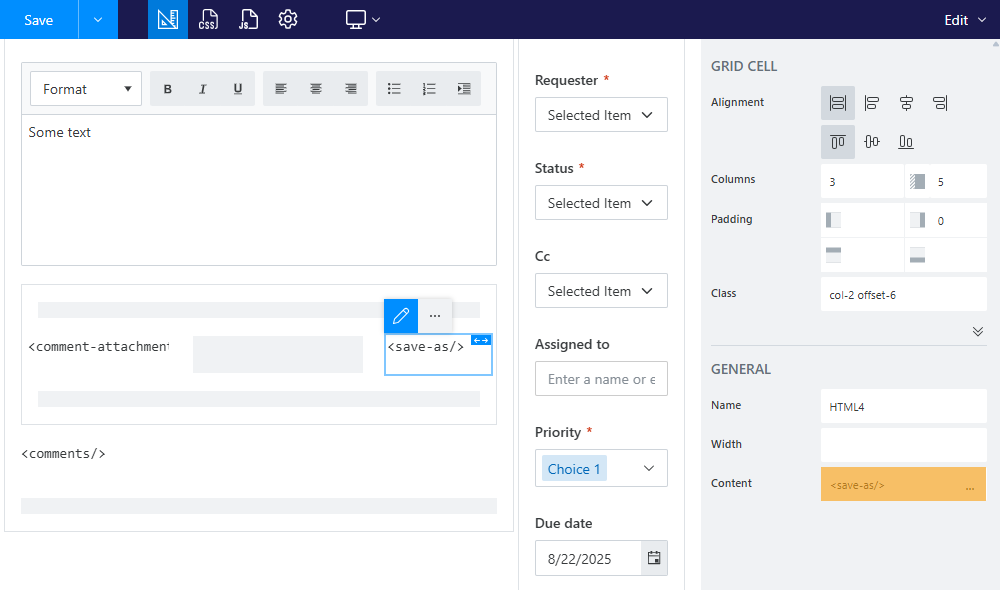
Add a
default-statusattribute and specify a value. It should be the internal name of the required status in lower case.
<save-as default-status="in progress"/>

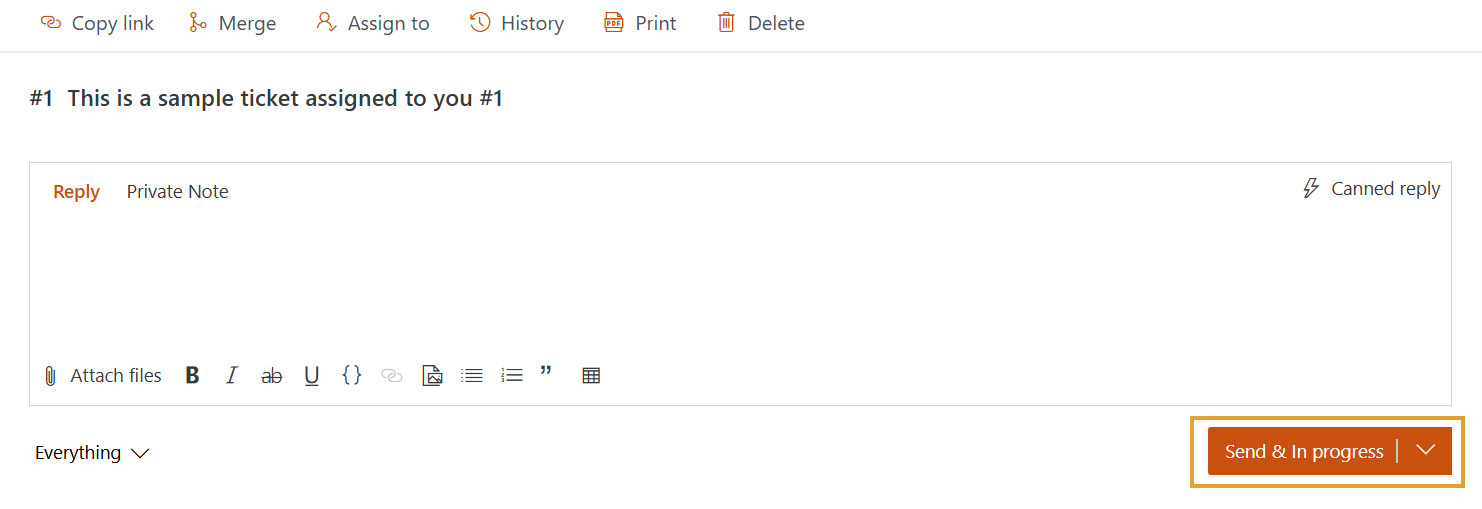
As a result, the Send button sets the ticket status to In progress.
You can also keep a
currentstatus in the Send button.
<save-as default-status="current"/>

Advanced scenario
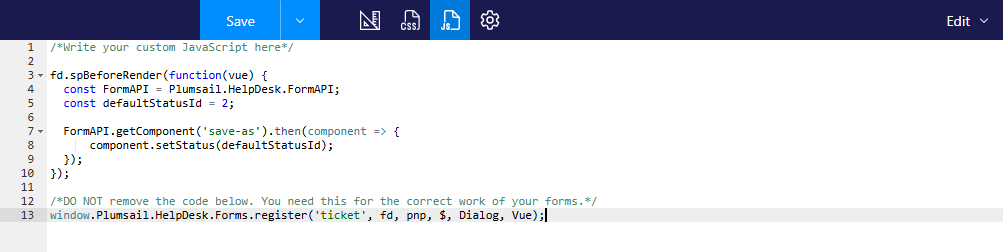
It is also possible to set the default status programmatically, using the JavaScript API.
Open a JavaScript editor in the form designer and paste the code snippet provided below.
In this code, we use const defaultStatusId = 2 to set the status value.
The number is the item ID of the required status in the “Ticket Statuses” list.
fd.spBeforeRender(function(vue) {
  const FormAPI = Plumsail.HelpDesk.FormAPI;
  const defaultStatusId = 2;

  FormAPI.getComponent('save-as').then(component => {
      component.setStatus(defaultStatusId);
  });
});